How to Clear Files in Windows Media Player

Windows Media Player is a great program that let you listen or play videos, add or clear music, import or export files to other devices. Sometimes, we need to clean up the music library by deleting files or history. Here is the instruction to tell you how to clear files in Windows Media Player.
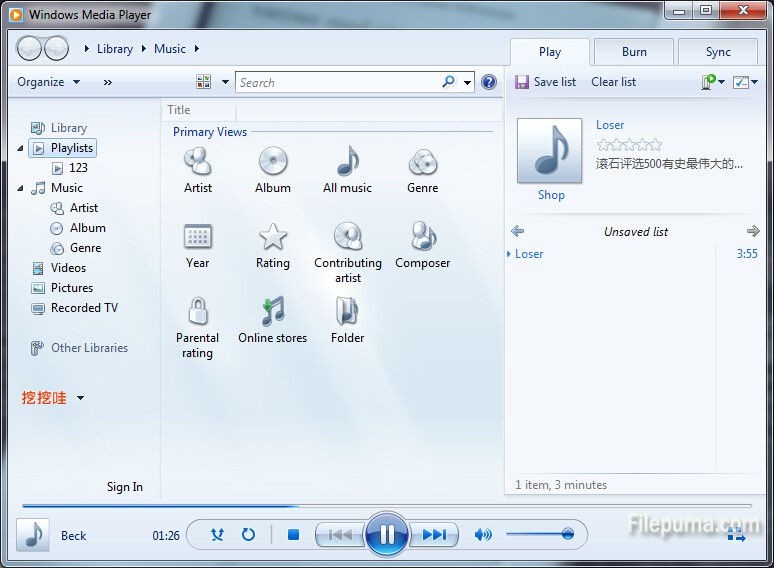
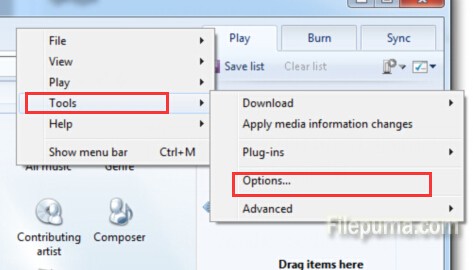
1. Start Windows Media Player. Right click on the blank part of Media Player and open “Options” under the “Tools” section.

11

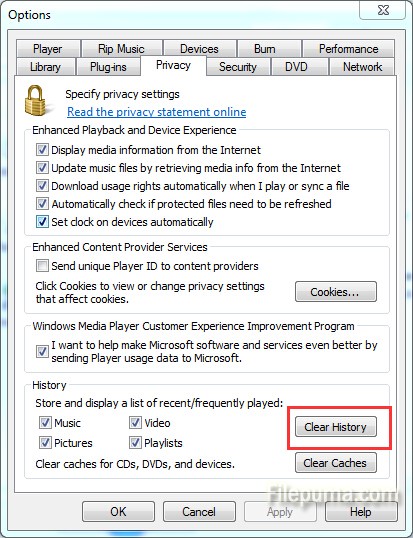
2. Click the “Privacy” tab in the window that pops up. Click the “Clear History” button to clear the history. Click “OK” when you finished.

22

3. Locate the file you want to clear in the “Library” section by ranking them with artist, album or other tabs.

4. Right click on the file and select “Delete.” Choose the option that fits your needs : “Delete from the Library” or “from the Library and computer”.

5. Continue clearing other files you don’t want.

How to Import Music From a Flash Drive to Windows Media Player

Windows Media Player is a Microsoft program that allows users to listen to music, play videos, and add music to CDs and MP3 devices. After you connect your USB flash drive to the computer, Windows Media Player can automatically recognize it. Here is the instruction to tell you how to import and play files from USB flash drive.

11

1. Start Windows Media Player.

2. Connect your USB flash drive to your computer. After a few seconds, Windows Media Player will automatically recognize the device and show in “Library” column. It will be identified by the drive letters.

3. Click the arrow to the left of the USB flash drive letter to expand the contents of the drive.

4. Click “Music” button and then Windows Media Player will search the USB flash drive, then the program will display the music files.

How to Password-Protect a File

Sensitive documents in a folder always need to be protected. There are more and more software we can use to protect files with password. However, all of the encryption program need to be downloaded. Here is an instruction to tell you how to Password-Protect a File by creating a zip file in Windows.

1. Select the folder you want to encrypt with a password. Right-click on the it and select “Send to.” Choose “Compressed folder” from the subsequent menu.

1

2. You will get a zip file. Right-click on it and select “Explore.”

2

3. Go to the “File” menu and select “Add a password.”

4. Enter the password you want. Confirm it and click “OK.”

5. Now this folder has been successfully encrypted and you can open it unless enter the right password.