How to Set Up a Filezilla FTP Server

FileZilla Server is a server that supports FTP and FTP over SSL/TLS which provides secure encrypted connections to the server. FileZilla is easy to use and available in many languages. FileZilla is open source software distributed free of charge under the terms of the GNU GPL; you will find documentation on how to compile FileZilla and nightly builds for multiple platforms in the development section. Here is the instruction to tell you how to set it.

1
1. Download Filezilla server from here:

http://www.filepuma.com/download/filezilla_server_0.9.45-6281/

And here is the FileZilla Client download link, because you may also need the hosting software to set up your FTP server:

http://www.filepuma.com/download/filezilla_client_3.10.3-8470/

2. Users can set your start-up preferences for the server interface.

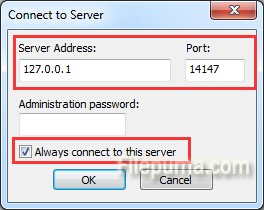
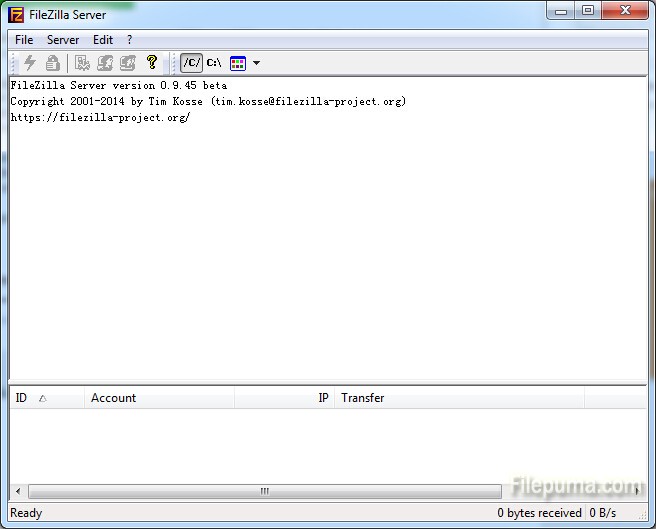
3. Start the Filezilla Server. First it will ask you to connect to server. By default, your Port will be set to 14147. Setting the server address to “127.0.0.1” will direct the computer to connect to itself. This will make the computer you are currently using the FTP server. Keep “Always connect to this server” box checked and click “OK” to connect.

1.5

How to Hide Hidden Files in FileZilla Client

FileZilla Client is a fast and reliable cross-platform FTP, FTPS and SFTP client with lots of useful features and an intuitive graphical user interface. One of best feature of FileZilla is that it can make the list of files smaller and prevents you from accidentally deleting important system files. Sometimes we may turn on it for some reason, here is the instruction to tell you how to hide hidden files back.

1

1. Start the FileZilla FTP client.

2. Click the “Server” on the top menu, and then keep “Force Showing Hidden Files” option unchecked. If you have the older versions, click the “View Menu” and keep the “Show Hidden File” option unchecked.

2

3. Refresh or even restart FileZilla. Then you’ve successfully hide hidden files in FileZilla.

How to Burn A Few Movies on One DVD with DVDfab

DVDFab is a great program allows you to copy a DVD and customize the output with DVD Copy’s many settings. Sometimes we have some good movies and want to share them with others. More than copy the movies to your friends, we could also burn a DVD for them as a collection. So here is the instruction tell you how to burn a few movies on one DVD.

QQ截图20150327173735
1. Download and install DVDFab from here:

http://www.filepuma.com/download/dvdfab_9.1.9.4-8451/

2. Run DVDFab. Open the file browser to find the files you want placed on your DVD.

3. Choose the information like image, audio tract to be included with the source.

4. Add the movies you’d like to burn on the DVD follow the steps below until you finished.

5. Click “Next” button to open the Merge2 screen.

333

6. Use the chapter range and title playback options to set up the way you want the DVD to play. 7. 7. Click “Start” to burn the DVD.