Do you have some practical ways to easily avoid computer viruses? How could we avoid them , or at least spot them early? And if the worst comes to pass, how can we get rid of computer viruses once we have them? OK! Now, let’s look at some basic tips.
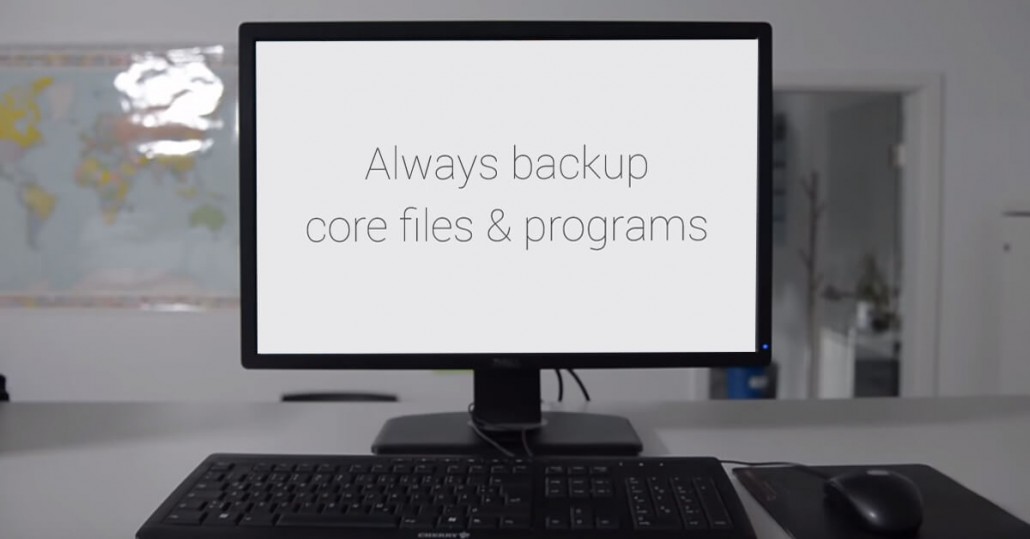
Always have a backup of core files and programs
Should the worst happen, nothing can get you back up and running faster than having a backup of all your critical files & programs. Before anything else, ensure you have a regular backup system in place.
There are plenty of options out there to backup files locally to hardware or in the cloud – even ways to easily manage backups for multiple devices. When wiping your machine is the only option left to remove a stubborn virus, getting back up and running is quick and painless when you have a backup to hand.
Never download programs from untrusted sites
Viruses often get on your computer via an infected program. Always download software from the original supplier or a trusted third-party website.
Previously, when programs were only ever installed via CDs and DVDs, virus creators were blocked from attaching their viruses to the install files. Now that we download many of our programs online, virus creators can upload their infected program files in locations designed to look and feel like they are the genuine deal. If the app you’re looking to download is only available from a third-party website, be very careful.

Use an anti-malware solution
This software will look out for threats, remove any it finds, and provide you with the ability to run ad-hoc full system scans.
This might sound like a no-brainer, but running an antivirus/anti-malware solution on your machine at all times is absolutely essential. Catching viruses as early as possible is vital, as viruses, like their biological namesake, spread and mutate, increasing their damage and difficulty in removal.
An anti-malware solution will isolate a compromised file by putting it into quarantine, effectively containing the virus and keeping it from spreading. The tool you choose to use must receive regular updates (definitions), at best multiple times a day, to be up-to-date and to protect you from new threats. Also, it must be active at all times. Most good and reliable anti-malware solutions feature a real-time-scanner that acts like a guard and scans each file that is being accessed for potential threats.
Use a firewall
A firewall is your computers front line of defense against third party threats. It stands in the way between an external person or program which attempts to interact with your computer in some way.
Whereas an antivirus program isolates and removes threats from files once they’re in contact with your computer, a firewall can prevent that file from reaching your computer in the first place.
Regularly update your softwares
New viruses are being created all the time. Updating all your software regularly helps prevent viruses from causing you trouble because updates fix vulnerabilities to new threats.
Updating Operating System software such as Windows, as well as antivirus software, will give you a great chance of evading a virus’s grasp.
Be cautious when opening email attachments
Viruses can enter your system via a malicious email attachment. Often this is achieved by an email from a compromised contact that has fallen victim to a virus himself/herself.
Avoiding email viruses can most simply be achieved by never opening the email, or attachment if you are not 100% certain of its validity. Received a randomly friendly email from a coworker with the subject line: “thought of you”? Be suspicious. Or how about an email from an unknown but authoritative sounding company with an “invoice” attached to it? Don’t open it.
Monitor all devices proactively
The firewall is up, anti-malware solution is in place, and your OS receives regular updates. Now make sure it stays like this. Monitor your devices proactively, and be notified as soon as a firewall is disabled, or anti-malware solution is deactivated, or automatic OS updates are disabled.
When you’re dealing with multiple devices, it can pay to ensure each one iscompletely protected. Protecting multiple computers from viruses can be easily achieved with a device monitoring tool. It will check all your PCs to identify any vulnerabilities, and provide an alert so you can react quickly.
Utilize Administrator rights
It can sometimes feel like a complete pain to have to enter an Administrator password any time you want to install or change settings on your computer. But there is method to this madness.
Many computer viruses can be stopped in their tracks because they do not have Administrator rights. Just as you need to enter a password to make changes, so does the virus. And without it, it’s unable to do anything. It’s worth having to go through that extra step yourself for the protection it provides.
Pay attention to virus warnings and notifications
Your antivirus solution should provide you with notifications or warnings in one form or another. As soon as one appears, take it seriously, and take action.
Even the most scrupulous computer virus avoidance techniques can occasionally allow a virus to slip through the net. When that happens, there should be a number of things which cause an alarm bell to ring in your head. Pay attention to it! The most obvious one being warnings and notifications popping up from your antivirus or Anti-Malware solution.
Inform your IT department
Unfortunately viruses sometimes manage to squirm through the tightest of nets, and we’re left to chase after and remove them from our systems. When this happens, even if you’re not sure, always get in touch with your IT department. There are no stupid questions. IT Admins hugely prefer the chance to catch early and nullify a threat rather than you tackling it yourself.
Even if you think you can handle it yourself, it’s preferable to inform IT so they can make any changes to prevent it spreading, or to help your coworkers avoid a similar threat. Some viruses can even duplicate themselves within the network, leading towidespread infection, damage, and a lengthy cleanup process. 
Take care in removing the virus
If there’s no IT department, or your personal devices are infected for instance, there are a few steps you can take
Step 1 – Safe Mode. Disconnect your PC from the network/internet to prevent the virus from spreading to other computers. Then restart your computer into Safe Mode:
- For Windows press F8 as soon as you turn your PC back on – then select Safe Mode from the Advanced Boot Options.
- For Macs press Shift while turning on your computer. Release the key when you see the Apple logo and progress bar.
Step 2 – Full Scan. Once booted up, locate and run your antivirus program’s full system scan. This might take a while, but you don’t have to sit watching the progress bar crawl towards 100%. Go off, do something else, and then come back. Step 3 – Restart & Check. To completely remove any viruses the full scan has detected, it will often require a restart. Do this, and then reboot again into normal mode.
Before reactivating network and internet connectivity, check that the problem has been resolved. Then check your Internet Security settings to make sure the virus hasn’t done any funny business with your default settings. Lastly, check your important files and documents to make sure there hasn’t been any corruption.
Step 4 – Backup or Carry On. If problems persist, you might want to consider wiping your computer, installing a fresh version of the operating system and using one of those handy backups of all your important files and data. (It was essential!)
Hope these tips are useful to you!


