We live in a world full of advertising and Windows 10 is no exception. You’ll find them on the lock screen, Start Menu, notification area and many other places. And it seems the number of adverts are increasing. You shouldn’t have to put up with that in an operating system, so let’s walk through how to disable them.
1. On the Lock Screen
If you’re using Windows spotlight on your lock screen, a feature that displays high quality images from Microsoft’s library, then you may occasionally be greeted with an advert when you come to unlock your system.
Sadly, you either have to put up with these adverts or stop using Windows spotlight entirely. If the latter option is for you, press Windows key + I to open Settings and then navigate to Personalization > Lock screen.
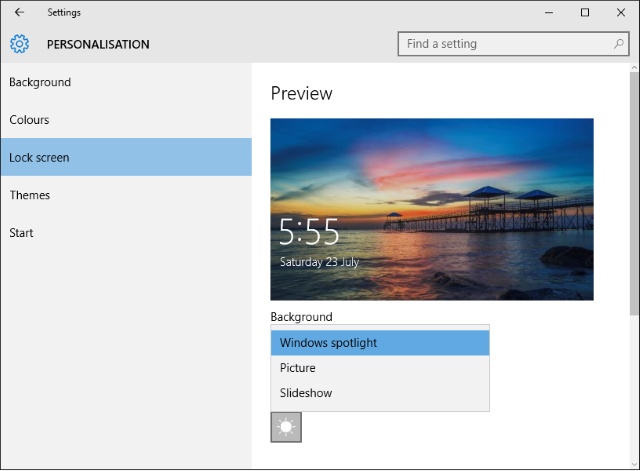
From here, use the dropdown beneath Background to select either Picture or Slideshow. You can then customize as appropriate. If you want to make sure you don’t even get links to Store apps, slide Get fun facts, tips, tricks and more on your lock screen to Off.
2. On the Start Menu
The Start Menu is one of the worst offenders for adverts as they appear in two places.
Live Tiles
The current Start Menu has five tiles which display promoted applications by default. These might be pre-installed applications or links to Windows Store downloads. In an upcoming update to Windows 10, the number of these tiles are going to double to 10.

It’s a nuisance, but simple to deal with. For pre-installed apps, right-click the tile and select Uninstall. For Windows Store links, right-click the tile and select Unpin from Start. These won’t reappear once you’ve removed them, unless a future update forces them back.
All Apps
When scrolling through your list of programs you might come across applications that are listed as being Suggested. These are placed by Microsoft — rather than the application developer — who is basing its suggestions on other apps that you’ve downloaded.
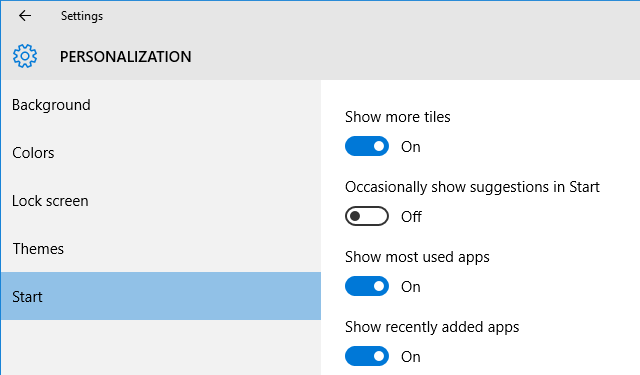
If you see an app suggestion you want gone, right-click it and select Don’t show this suggestion or Turn off all suggestions. Alternatively, if you want to be proactive and turn these off before even seeing them, press Windows key + I to load Settings and navigate to Personalization > Start. Once here, turn Occasionally show suggests in Start to Off.
3. Get X App
Never one to pass up an opportunity to promote their own products, Microsoft included a number of promotional apps within Windows 10. These include Get Office and Get Skype. You might already have the actual full app, but you’ll still see these.
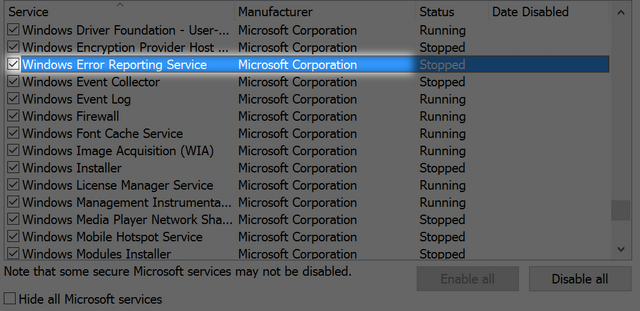
Not only will you find these on your Start Menu, but you may also get notifications about them. To get rid of the notifications, press Windows key + I to open Settings and navigate to System > Notifications & actions and then slide the offending apps to Off.
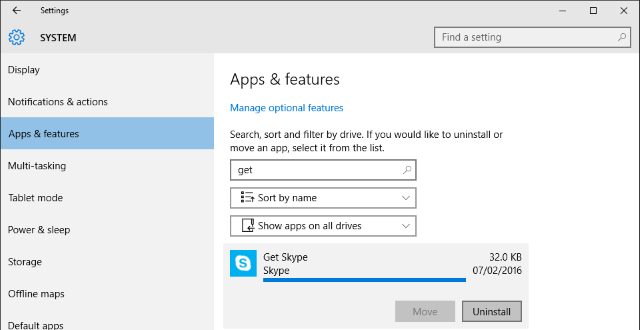
But let’s go one step further and rid these promotional apps completely. Press Windows key + I and then navigate to System > Apps & features. This will bring up a list of all apps installed on your system. You can either do a search for an app or you might just want to scroll through them all and clear out the clutter while you’re here. Click an app and then select Uninstall to remove it.
4. In Some Windows Games
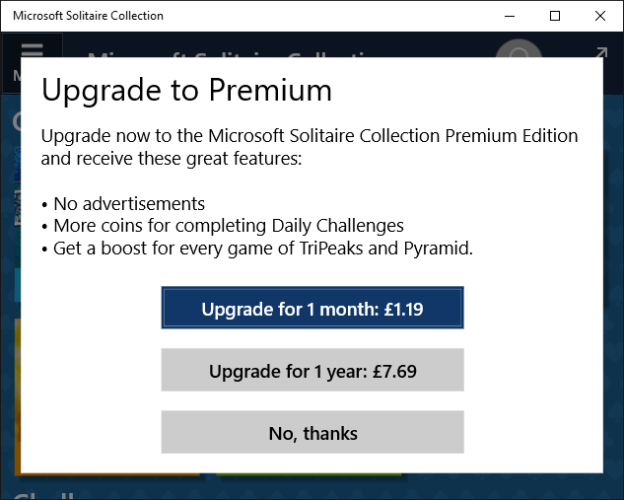
Gone are the days where you could play a simple game of the long-running desktop game Solitaire. Now it includes adverts! Microsoft Solitaire Collection comes preinstalled with Windows 10 and serves up a variety of adverts, from banner ads to full-screen videos. Minesweeper is available from the Store and you’ll get similar treatment in that game too.
Sadly, to remove these adverts you’ll have to pay and upgrade to a Premium membership. And it’s not cheap either: $1.49 per month or $10 for a year, per app. To to this, launch the game and go to Menu > Upgrade to Premium.
Alternatively, you could download similar applications from the Store, though they won’t be official Microsoft games. Otherwise, check out Winaero’s guide on how to run the Windows 7 games within Windows 10 — though please note we take no responsibility for the ZIP file they provide.
5. On the Windows Ink Workspace
A new feature in Windows 10 is the Windows Ink Workspace, which aims to make using a digital pen a smoother experience. Accessing the Workspace from your taskbar brings up various useful access points, like Sticky Notes and Sketchpad. But you’ll also notice a Suggested section, which is used for adverts.
This might fall on the helpful side of adverts because it’ll recommend apps that relate to using a digital pen, like Fresh Paint and SketchBook, but you don’t need to see them if you don’t want to.
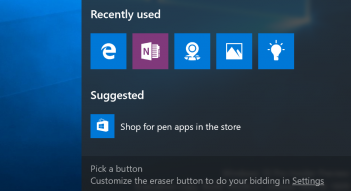
To turn off these suggestions, press Windows key + I and navigate to Devices > Pen. Then switch Show recommended app suggestions to Off.