Category Archives: How To

How to Use Brushes in Inkscape

Inkscape is professional quality vector graphics software which runs on Windows, Mac OS X and Linux. It is used by design professionals and hobbyists worldwide, for creating a wide variety of graphics such as illustrations, icons, logos, diagrams, maps and web graphics.  Here is the instruction to tell you how to use brushes in Inkscape.
1
1. First we need to create a brush. Import a PNG.

2. Perform an automatic trace and simplify the resulted path to vectorize it.

3. Select your path, drag it as you like and press the Space key. Control the density carefully.

4. Draw a Bezier curve as a guide, and modify its shape as you need.

5. Select the path stamp and the guide and use Effects > Generate from Path > Pattern along Path.

How to Use ConvertXtoDVD

ConvertXtoDVD is a great program which allows you to watch your videos on any TV with avi to dvd converter software.  With ConvertXtoDVD you can convert to DVD 1 or more videos.  Designed for beginners, but with advanced settings available. Here is the instruction to tell you how to use ConvertXtoDVD.

1
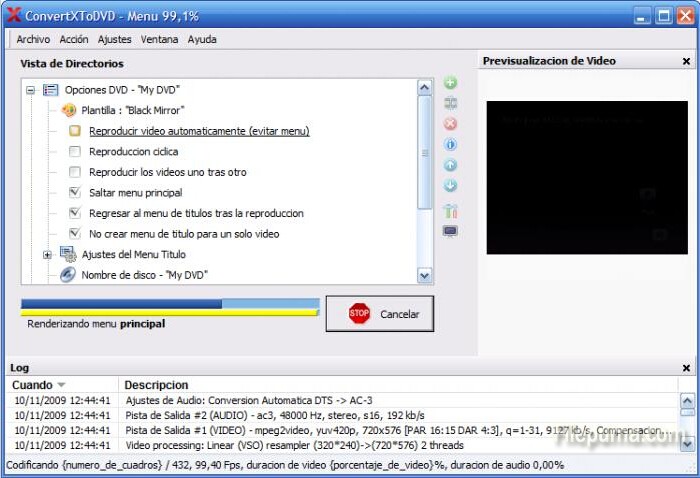
1. Download and install ConvertXtoDVD. Run ConvertXtoDVD.

http://www.filepuma.com/download/convertxtodvd_5.2.0.64-8458/

2. Select the green button with a “+” in the center of the program box, locate the video file you want to add to this project. Make sure the file type is supported by this software, and then ConvertXtoDVD can help you to convert it.

3. Choose the type you desire for your DVD. Sequential Playback is used for multiple video segments on one disc. Auto Start Playback will set the disk to start playing the movie without going through the menu.

4. Double click the name, type a new title or search the computer for a background image to customize the background or title. And then click the small icon which looks like a little TV to preview the video.

5. Put a blank disk in the drive. Click “Convert” to stat the converting process.

How to Make a Gap in Microsoft Excel

Microsoft Excel is a great program which can create a visual display of spreadsheet data. You can add a gap in the chart to visually separate two groups of data along one axis. Here is the instruction to tell you how to make a gap in Excel.

1
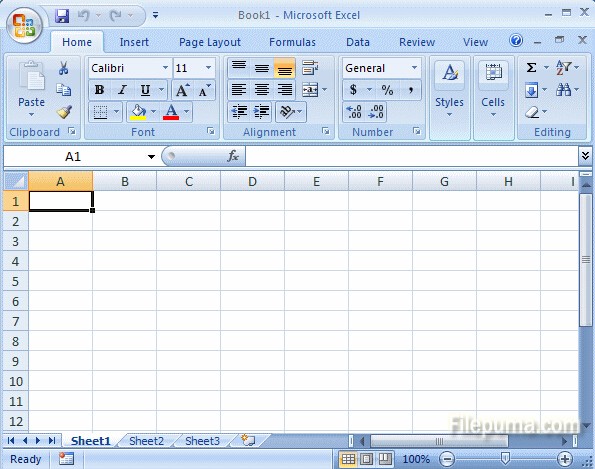
1. Run Microsoft Excel and enter the data down column “A.”

2. Select the entire row and insert a blank row. Data in that row will be automatically adjusted.

3. Click and drag your mouse down column “A” which include the blank row to select all the data.

4. Click the Insert tab and select a chart type.

5. Right-click the chart and click “Select Data—-Hidden and Empty Cells”—-Gaps”. Click “OK” to allow Excel to recognize the gap in the data. Click “OK” to exit.

6. Right-click the any data graphic, and select “Format Data Series.”

7. Click and drag the “Gap Width” slider on the Series Option tab to adjust the gap between data graphics. Click “Close” save new setting.