Category Archives: How To

How to use Glarysoft File Recovery Pro?

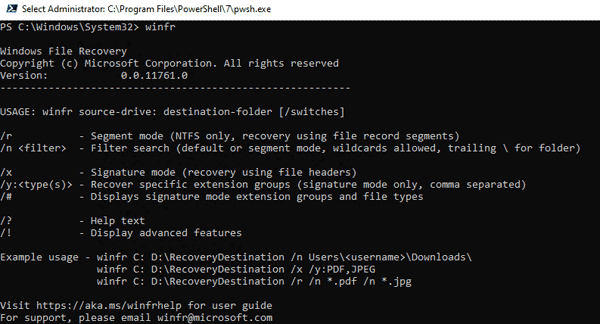
We have all lost files due to various reasons, such as accidental deletion, or accidentally pressing the Shift + Delete shortcut key of a Windows computer, or virus damage or computer crash. Microsoft has released a utility system recovery tool in Windows 10. This tool can meet the needs of professional computer experts because they understand computer systems and can write codes. Users can find this Windows recovery tool in the Microsoft store. But Microsoft File Recovery only runs in the console command prompt mode, so you must follow the steps below.

Microsoft File Recovery

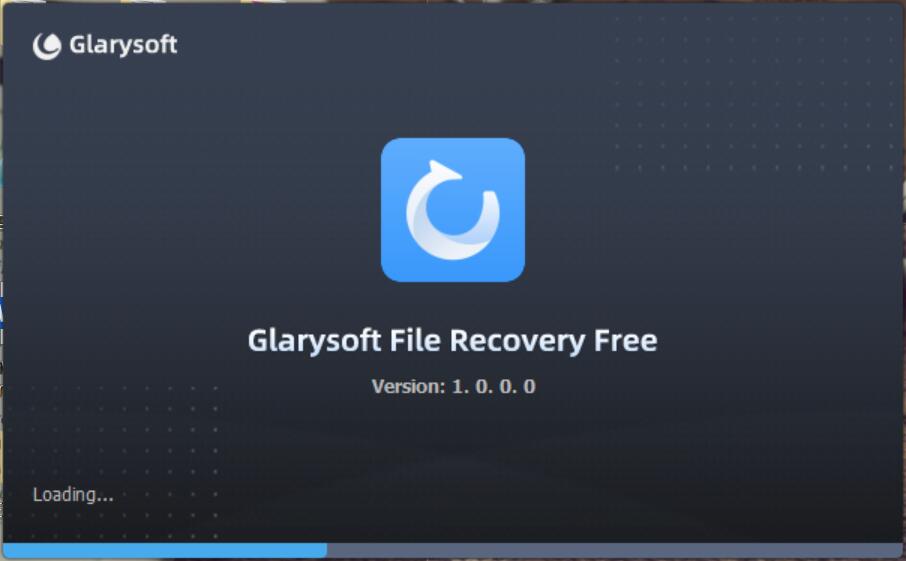
How to restore permanently deleted files directly in Windows? If you want to get a simple recovery tool and learn the detailed recovery process, let us try Glarysoft’s newly released file recovery tool: Glarysoft File Recovery. It provides users with an easy-to-use interface and easy-to-understand recovery techniques. After downloading and installing, the interface will display as following.

Glarysoft File Recovery

This guide will show step by step how to recover lost files with the Glarysoft File Recovery.

First, we need to view the lost files immediately. Therefore, it is necessary to scan the computer to find the lost files.

Select the drive or partition from the main interface, as showed in the picture below.

Glarysoft File Recovery

Step 1: Select and scan

If you want to recover photos from a SD card, the program will recognize the memory card after connecting the SD card to the computer. Select and scan the SD card, the files will be listed. Glarysoft File Recovery will perform scan sorting based on the file name, type, or creation date.

Glarysoft File Recovery

If you remember the name of the photo, please enter the name in the search button to save scanning time. The more information provided about the lost files, the shorter the scan time and the more accurate the scan results. For example, you can provide the size, type, format, or time period of the file.

Step 2: Recovery

After scanning, the interface will list all files in the window. You can preview the file from the view window.

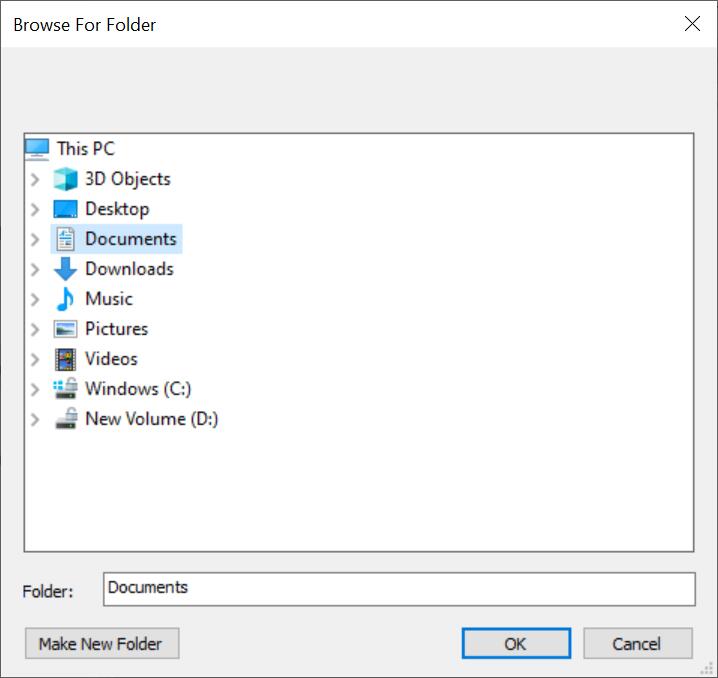
Select the file you want to restore, then select the save path, and click the restore button.

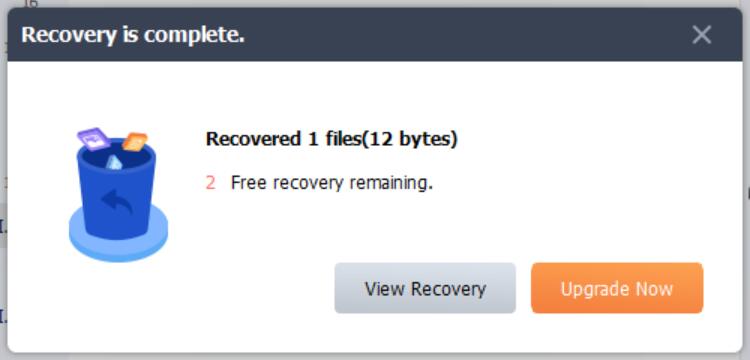
In just two steps, your lost files have been restored to your computer.

Tip: Whether the lost files can be recovered depends on the time of deletion and subsequent operations. After deletion, the files may still be hidden in your computer or device. So please stop saving or deleting any files to reduce the chance of overwriting, which will provide you with more opportunities to recover files.

Glarysoft is committed to creating efficient software for users and has been working in this field for more than 15 years. This year, Glarysoft released two versions of the recovery tool. One is a completely free version: Glarysoft File Recovery Free and the other one is a paid version: Glarysoft File Recovery Pro. The free version is limited to recovering 3 files at most. If you prefer a free recovery tool, choose to download it from Glarysoft File Recovery Free.

We expect any feedback about the Glarysoft File RecoveryContact us

How to Recover Lost Videos and Photos from My Computer?

Many people store some videos and photos that record their beautiful memory on their computers. But if you lose them due to accidental deletion, formatting, improper operation, or computer virus, how sad it is. Here we provide you a way to recover lost videos and photos to retrieve your happy memories.

We recommend a simple and efficient file recovery tool: Glarysoft File Recovery.

This tool is free, no ads or malware, and it just takes a few simple steps to recover lost and deleted videos and photos. It supports the recovery of almost all file types, including photos, videos, documents, etc. It can not only recover from computers, USB drives, but also from external memory cards (such as camera storage devices). The most important thing is it’s easy to use, even beginners can also operate to complete the recovery.

How to recover lost videos, photos from your computer with Glarysoft File Recovery?

Step1: Download and install Glarysoft File Recovery from here:

https://www.glarysoft.com/file-recovery-free/

Double-click the icon on the desktop to start it on Windows.

Step2: Scan

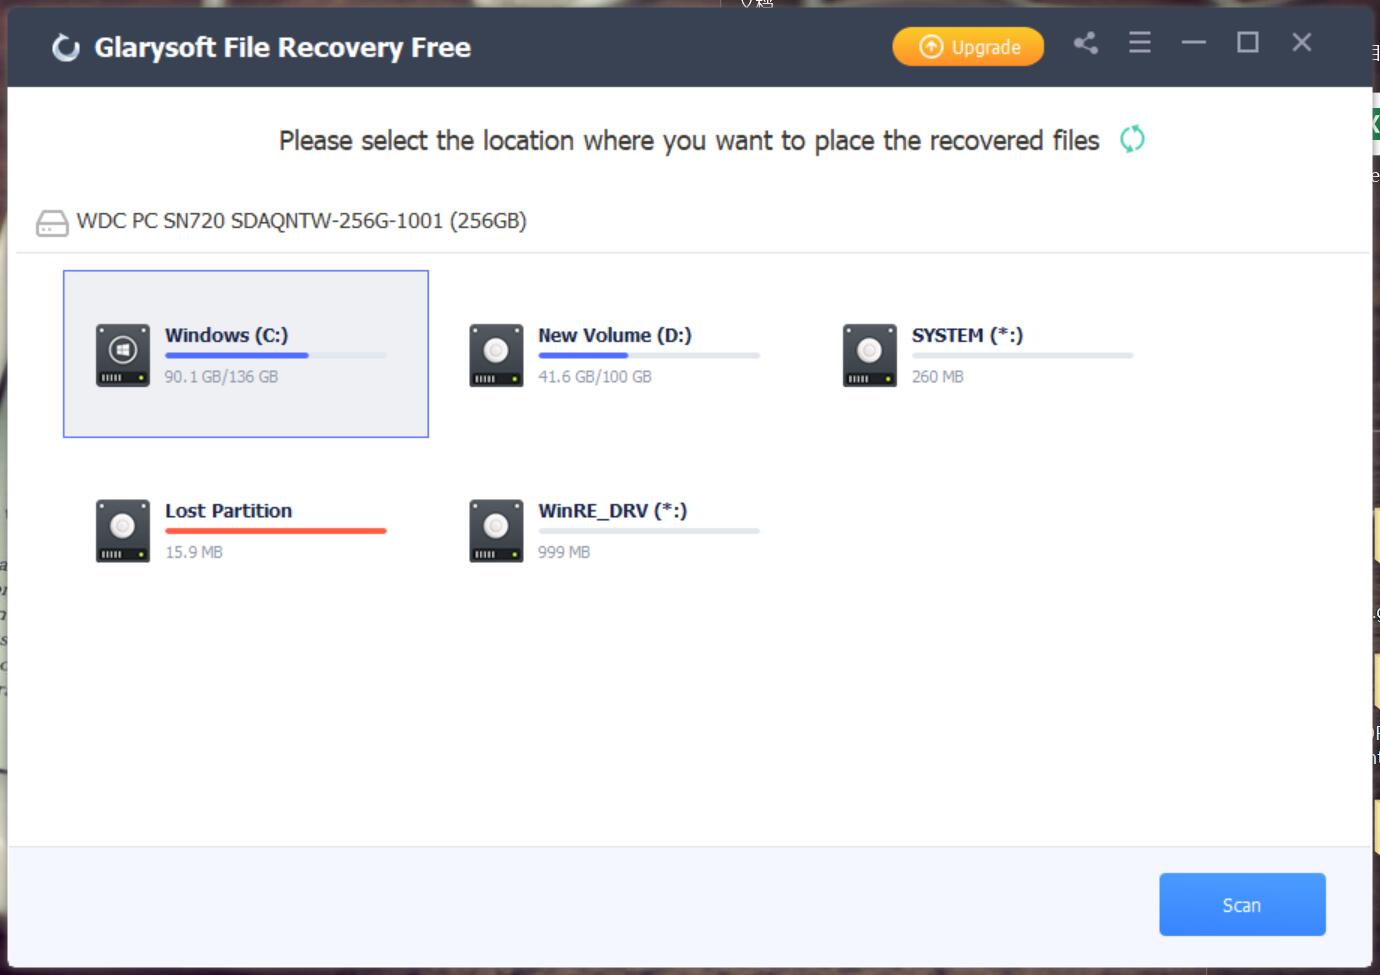
A: Select the location of the lost data.

Please select a hard disk.

Support scanning FAT, NTFS, NTFS + EFS file systems

B: Click “Scan”, Glarysoft File Recovery will start a full scan on the selected location. Usually, it takes a few minutes to complete. However, if there are many large files, more time is required.

Of course, during the scanning process, you can pause or stop the operation by clicking the button bottom.

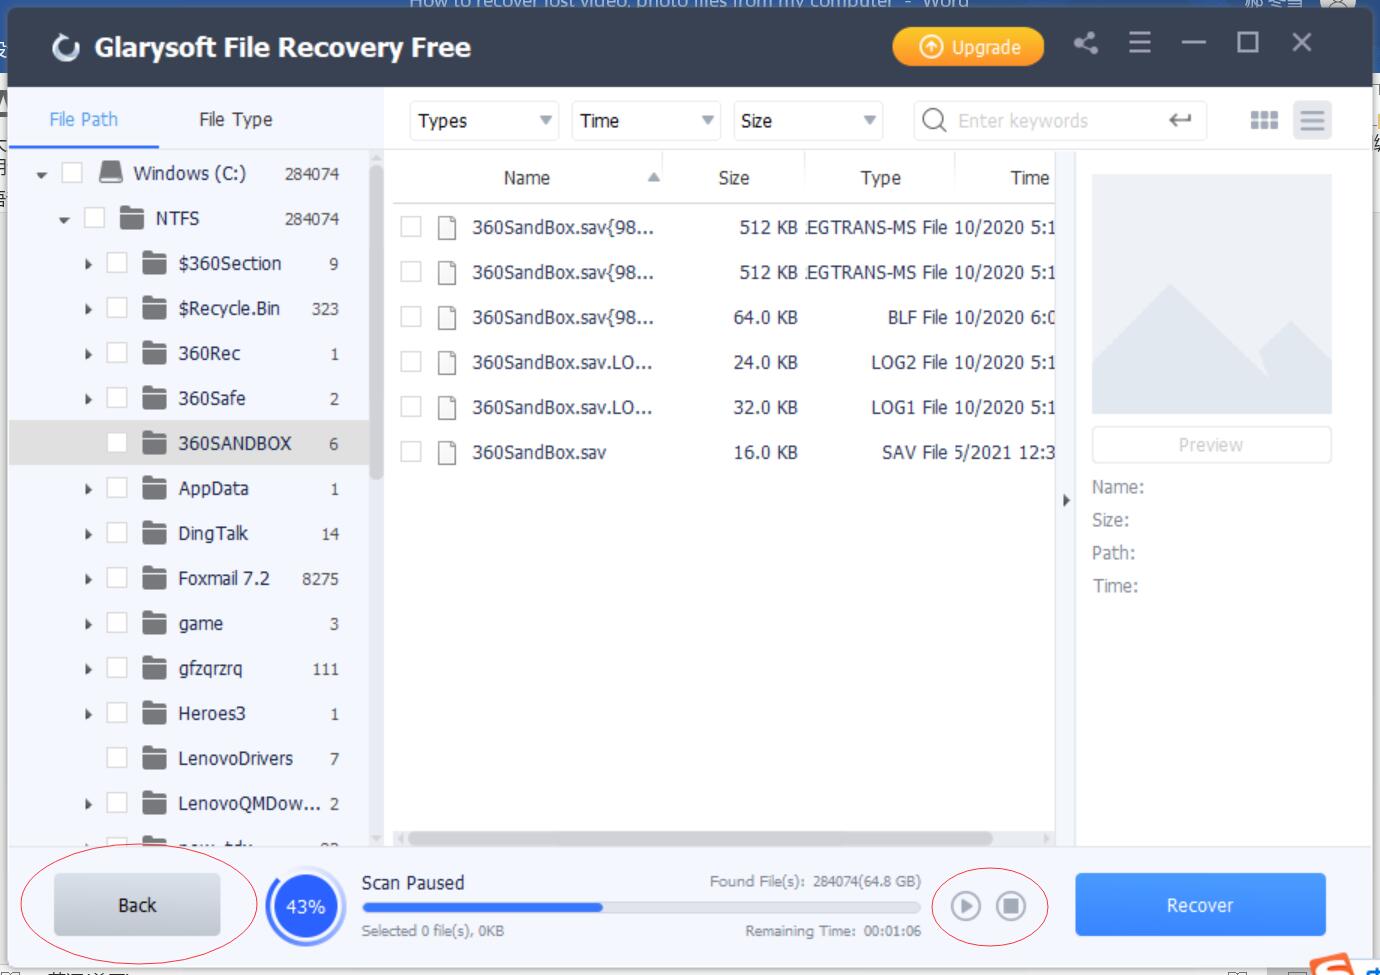
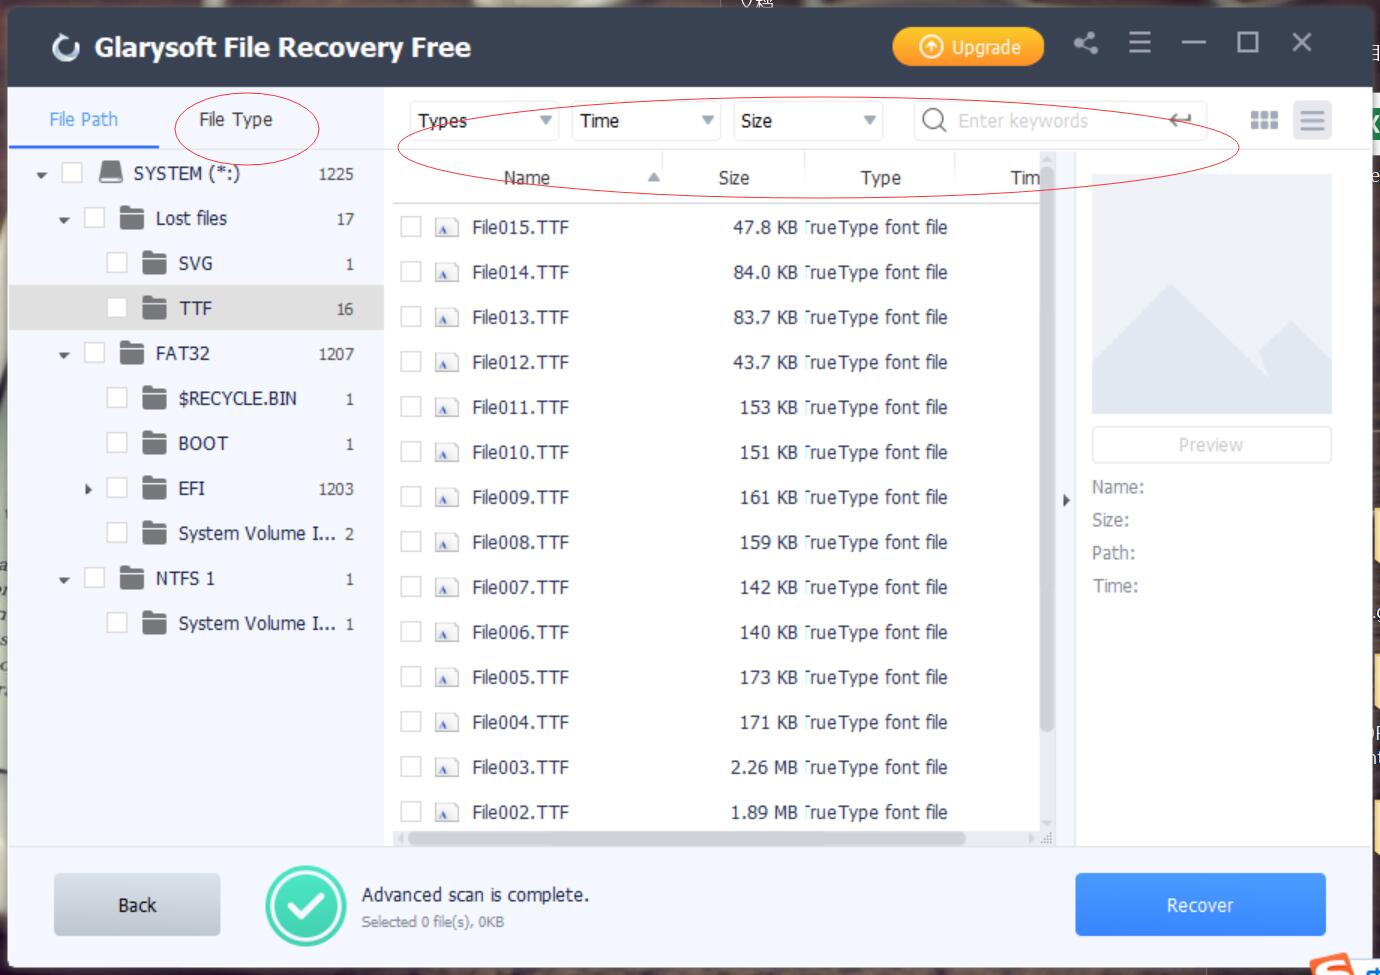
C. After the scan results appear, you can filter files according to Name, Type, Size, Last modified, etc., and locate them precisely to narrow the scope of the results.

You can also locate it further by File Types or Folder on the left panel.

Step3: Preview and Recover

A: Glarysoft File Recovery allows you to preview recoverable files in advance. You can select the target file, and then preview to confirm whether the file is you need.

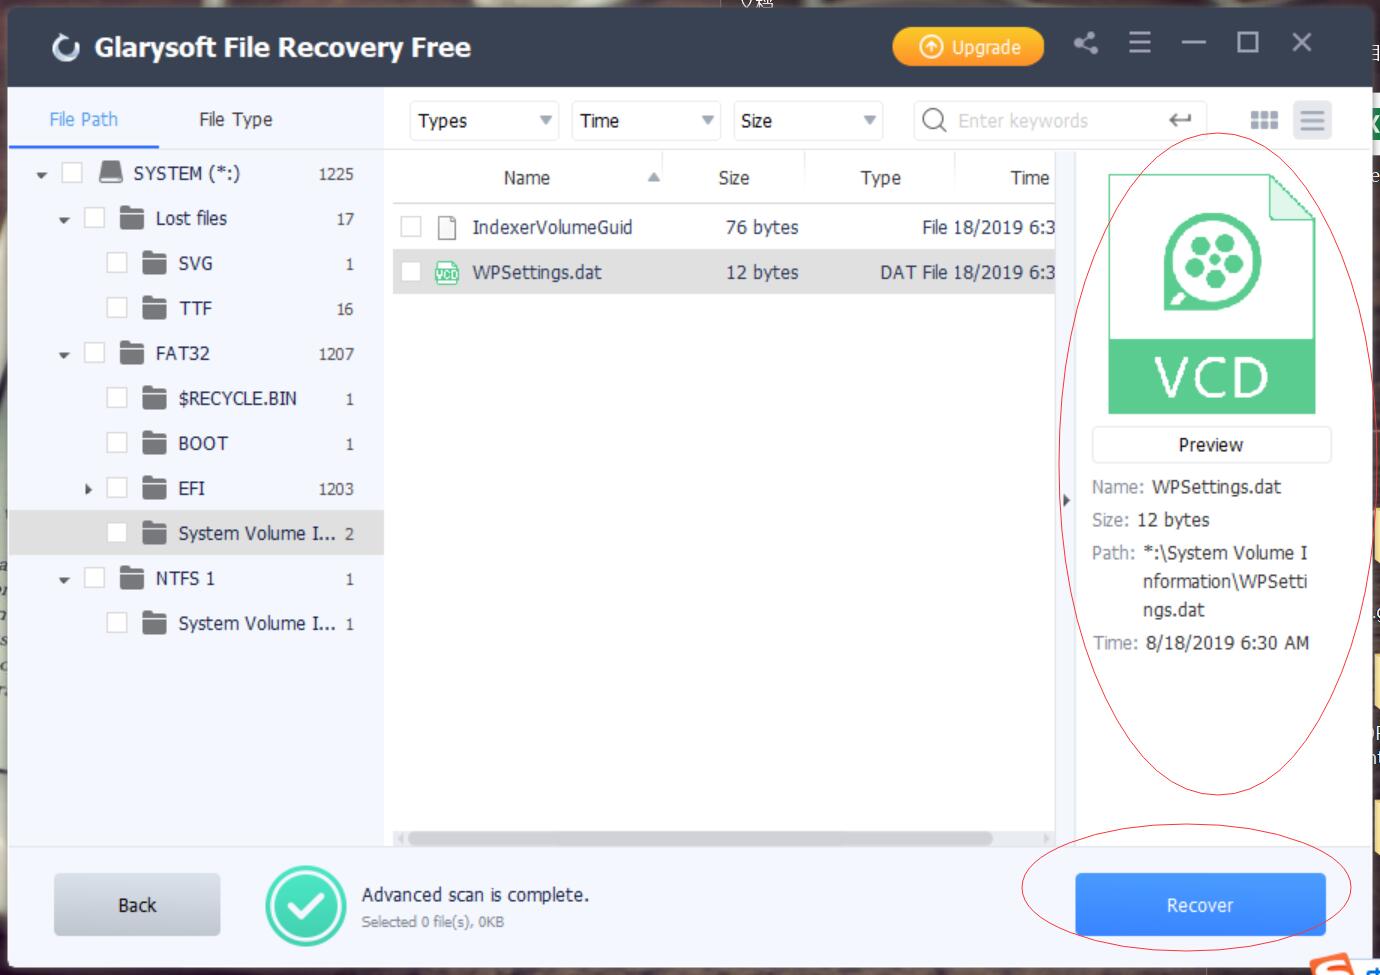
B: After previewing the files and confirming, check the files that need to be restored. Then directly click the “Recover” button to retrieve the lost data, and select the path to save the restored files to complete.

Tips: Please do not save the file to the same location to avoid overwriting the data.

Step4: Recover data from the external device

If your videos and photos are lost from external devices on your Windows computer, such as external hard drives, memory cards, SD cards, digital cameras, drone cameras, USB flash drives, etc., Glarysoft File Recovery can also help you recover them. The different step is that external devices need to be connected to the computer. Make sure it can be recognized or detected. Then follow the above steps for file recovery.

Note: The Free version provides a limit on the number of recovering files. For more recovery needs, upgrade the free version to Pro. The price of Glarysoft File Recovery Pro is reasonable, there are single or annual packages, you can choose the suitable plan according to your needs.

Hope this program can help you!

How to Clean and Speed up Your Windows Computer

Over time, computers slow down. Of course, aging hardware plays a part, but for most people, a more common cause is poor operating system maintenanceHere’s the ultimate checklist for cleaning your Windows computer.

Delete Unused Software

The first step is removing all the old software you no longer use. If you’re not a “diligent deleter,” you’ll be amazed at how much unnecessary stuff you have installed on your machine.

To see all the apps on your computer, go to Start > Settings > Apps > Apps and features. Scroll down the list and click Uninstall on anything you don’t need.

Clearly, you need to exercise a touch of caution. Don’t just get rid of stuff you don’t recognize — run a Google search first to ensure it’s safe to delete!

Clean up the Disk

To run Disk Cleanup, either type the program’s name in the Start Menu or go to Control Panel > Administrative Tools > Disk Cleanup.

The best Disk Cleanup software I’ve ever use are Ccleaner and Glary Disk Cleaner.

CCleaner is the number-one tool for cleaning your PC. It protects your privacy and makes your computer faster and more secure!

Glary Disk Cleaner is freeware with registry and disk cleaning, privacy protection, performance accelerator, and amazing multifunctional tools. It can fix dogged registry errors, wipe off clutters, optimize internet speed, safeguard confidential files and maintain maximum performance.

Run Antivirus Software

You should also run your antivirus software. One of the most common causes of slow computers is viruses. There are many good antivirus software, like Malwarebytes, rather than focusing on viruses, its primary goal is protecting users against the latest trojans, backdoors, adware, and spyware.

Defragment the Hard Drive

In Windows 10, the operating system runs disk defragmentation when it senses it is required. However, as we’re doing a thorough clean of your computer, it would be remiss not to run it manually.

You can find the Defragment and Optimize Drives tool by running a search or by going to Control Panel > Administrative Tools.


Refresh Your Startup List

Any seasoned Windows user knows that the operating system lags way behind macOS, Chrome OS, and Linux when it comes to boot times. Typically, the problem is caused by the number of programs Windows tries to launch when it first starts. The majority of them are unnecessary.


To clean your startup list, press Ctrl + Alt + Delete and select Task Manager. On the new window, click More Details, then choose the Startup tab at the top of the screen.

You should now be looking at all the apps Windows tries to run at boot. To disable an app, highlight the appropriate row and click Disable.

Clean the AppData Folder

When you uninstall an app, you’ll often find remnants of its former presence dotted around your machine. One of the most common locations is the AppData folder.

By default, the folder is hidden. You can find it at C:\Users\[Username]\AppData or by typing %AppData% into Windows search.

Remove Old Program Files

The other place you’ll often find trace elements of old apps’ files is in the Program Files folders.

On most machines, there are two Program Files folders. You can find them at C:\Program Files and C:\Program Files (x86).

As with the AppData folder, work through the contents of each folder carefully and delete any files and folders that are no longer in use.

Clean the Registry

Registry Repair is the most efficient registry cleaning software to fix registry problems. It works with all Windows Operating Systems and scans Windows Registry quickly with comprehensive analysis.

How to Resolve Windows Update Problems

If you are a Windows 10 users, you might be constantly receiving updates, some big and some small, usually without a hitch. However, in some cases few problems might arise like it failed download and installation problem. When such problems arise, the download getting stuck, the update refusing to install, or the system being caught up in a restart loop.

Before beginning any troubleshooting steps, ensure that there’s definitely a problem with Windows Update. This will sound silly if your update refuses to download or gets stuck in a reboot loop — in these scenarios there’s definitely a problem, so try the help below. But if you’re looking at a progress bar of the download that appears to be stuck, give it some time, especially if you’re on a Wi-Fi connection.

windows update stuck

Windows Update Troubleshooter

This is the first step that you should take. The Windows Update Troubleshooter will automatically run a scan, will detect and resolve the problems that have arisen due to Windows Update. Most of the times, it works. When your problem is said to be resolved by Windows Update Troubleshooter, close it and then reboot your computer to check the issue again.

Clear Updates Download Folder

If your download is getting stuck during download or refuses to install, it might be that something went wrong with the file itself. Clearing the folder where all of the update files are stored will force Windows Update to download afresh, which can help resolve any problems.

 First, press Windows key + R to open Run.      Input C:\Windows\SoftwareDistribution\Download and click OK to launch to the folder. Now you need to delete everything within the folder, but do not delete the folder itself. To do so, press CTRL + A to select everything and then press Delete to remove the files.

updates download folder

Disable Your Anti-virus

Normally, your anti-virus software shouldn’t interfere with the update process, but there have been reports that temporarily disabling it can solve problems. Each anti-virus will have its own method of disabling it, so load it up and turn it off. If you can’t see where to do this, explore the Settings or Options area. Alternatively, right-click the icon in your system tray and you may find the option to disable it there.

Disconnect Drives and VPNs

Try to disconnect all the DVD drive and SD card reader from your computer. Safely remove them by disabling them. Also, disable the VPN services if you receive errors like 0x80200056 and 0x800F0922.

Use the Media Creation Tool

If none of the above methods have worked, you should give Media Creation Tool a try. Media Creation Tool will create an installation file of Windows 10 and will try to upgrade by using a different method. Before you do this, it advised that you create a backup of all the critical files and folders. Follow the steps given below to use the Media Creation Tool. Step 1: Go to Microsoft’s ‘Get Windows 10′ page. Step 2: Click on “Download tool now’ tab. Step 3: Save the file and then open it. Step 4: Accept the terms and conditions. Step 5: Click on ‘Upgrade this PC now’ and then click on ‘Next’. Step 6: Click on ‘Install’.