Category Archives: How To

How to Delete the History of Today’s Visited Websites

When you visit web pages, download components or view images, you web browser stores the information on your computer as cache, so that you can be able to locate the same content or websites again much faster. If you have too many files stored in the browser history folder, you may also run into occasional browser errors that prevent some web pages from launching. Clear today’s browsing history quickly and easily.

u=3122716075,1070238458&fm=23&gp=0

Google Chrome

  • Launch Google Chrome and click the “Tools” menu (wrench icon) located on the top of your browser. Scroll down the pop-up menu and click “History” to launch the history management window.
  • Click the “Delete history for this day” next to today’s date. Google Chrome deletes all the websites that you have visited today.
  • Close the history management window when you finish.

Opera

  • Launch Opera, click the “Tools” menu on the top and then click the “History” option on the pop-up menu to launch the history management window.
  • Click the “View” button in the history management window and then select the “By Time and Site” option. You should see your browser’s history organised by date.
  • Select the “Today” option and then click the “Delete” button. Opera deletes today’s browsing history.

Firefox

  • Launch Firefox, click the “Tools” menu located on the top of the browser window and then click “Clear Private Data” to launch the “Clear Recent History” dialogue box.
  • Select “Today” in the “Time to range to clear” box, and then place a check on the browser history options in the “Details” box.
  • Click “Clear Now.” Firefox deletes today’s browsing history.

Internet Explorer

  • Launch Internet Explorer and then click the “Favorites” button located on the top. A new panel launches in the left panel.
  • Select the “History” option and then select “Today.” You should see a list of the websites that you have visited today.
  • Highlight the websites that you have visited today and then press “Delete” to remove them from your computer.

Safari

  • Launch Safari, and then click the “History” menu located on the top. Scroll down the pop-up menu and click “Show All History.” A new window launches displaying all of your browsing history organised by date.
  • Locate the “Last Visited Today” option. This option contains a list of all the websites that you have visited today. Right-click it and then click “Delete” to remove today’s history.
  • Close the History window when you finish. You should no longer see today’s browsing history.

How to Use Skype Without an Account

Skype added an interesting new feature that allows anyone to use the free version of the messaging app without an account. To use it without an account, you must use Skype for Web; however, account holders can still join in using a regular Skype client.

This is an extension of a feature Skype rolled out in October 2015, which allowed Skype users to add non-Skype users  to their conversations.

When you use Skype’s account-free options, you’re considered a guest. All conversations are based on a unique link that you can share with anyone you want to talk to over Skype. Guest conversation links last for 24 hours and allow up to 300 people to have a text chat, or up to 25 people to participate in a voice or video call.

Guest conversations have most of the features you get with a free account such as screen and file sharing. Skype Translator (the service’s real-time translation tool) is out, as are paid-account features such as phone calls to landlines or mobile phones.

Get started on Skype’s website.

qq%e5%9b%be%e7%89%8720170110162709

Since this is a web-based service, you start on Skype.com. When you land on the webpage you’ll see a button labeled Start a conversation.

qq%e5%9b%be%e7%89%8720170110162802
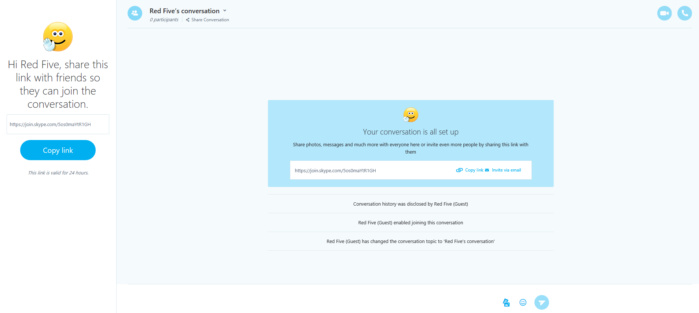
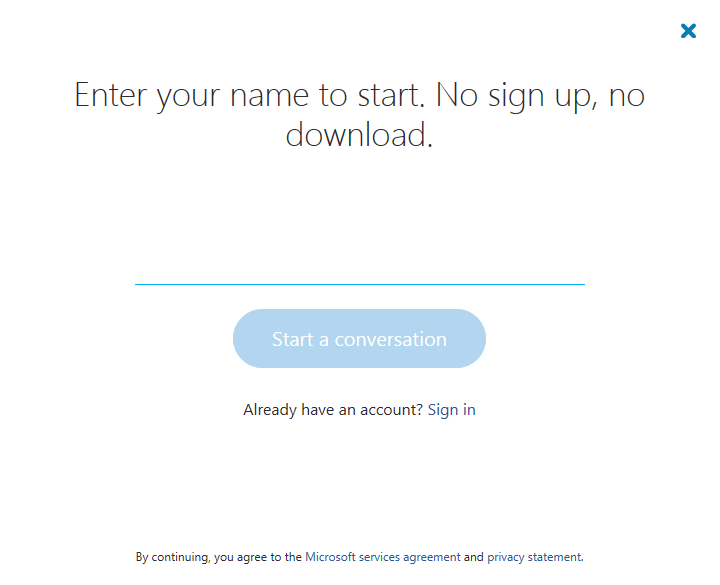
Pick the username you’d like to use for the conversation.

Once your name is entered, click the Start a conversation button again. Once that’s done, you’ll eventually see a Skype loading screen as Microsoft prepares the account-free conversation.

skypeguestconversation-100693973-large

When everything is ready, a Skype for Web conversation window appears. To get other people to join, you have to share the unique web address created for your conversation. You can either copy the link in the left-hand panel or from the big blue box in the main part of the screen. Now share that link as you would any other—via email, Facebook, Twitter, SMS, WhatsApp, etc.

If you’re sending the link to someone on a PC, when they click the conversation link they will have an option to open the Skype app on their PC. If they’d rather not use their account for the conversation, they can just click the Join conversation button to use Skype for Web as a guest. Mobile users can also use the Skype URL to join the conversation from their smartphone or tablet using Skype’s mobile apps.

Enjoy your account-free Skype chats.

How to Draw Diagrams with Photoshop

Photoshop, the graphics program available as part of the Adobe Creative Suite, offers tools to transform your digital photographs, but the program is also a complete drawing and sketching tool as well. Consider Photoshop your artist’s canvas or school chalkboard when you need to brainstorm diagrams. One benefit of drawing diagrams in Photoshop is that your work is already electronic; just e-mail it to yourself or post it on your website when you’re done, no paper or scanning required. Create detailed, intricate diagrams or simple shapes with just a few clicks in Photoshop.

6fb0609e4a634c97

1. Open Photoshop, click the “File” menu and select “New.” Type “Diagram” into the “Name” field. Type the preferred diagram dimensions into the “Width” and “Height” boxes, such as “8” for each. Pull down the dimensions menus and select “inches” for each. Click the “OK” button to open the Photoshop workspace.

2. Double-click the top-left square of the “Color Picker,” the two overlapping coloured boxes on the bottom of the “Tools” palette. Choose a colour for the first diagram item and click “OK.”

3. Right-click the shape tool, which may look like a grey square, grey circle, line or grey star above the “Color Picker.” These tools all share the same space. From the small flyout menu, select “Custom Shape Tool.”

4. Pull down the “Shape” menu on the toolbar at the top of the screen. Select the first shape for the diagram, such as a diamond. Position your cursor on the “Diagram” box, press and hold down the left mouse button and drag the cursor to form the shape.

5. Select a new colour from the “Color Picker” or leave it the same colour and choose a new shape from the “Shape” menu, such as a hexagon. Click and drag to add the shape to the diagram space.

6. Continue adding shapes until all the required shapes are in place. Right-click the “Custom Shape Tool” icon and select “Line Tool.” Change paint colours if desired. Draw lines from shape to shape, forming the tree of the diagram, such as a flow chart hierarchy. Adjust the thickness of the lines by typing a larger number in the “Weight” box on the toolbar at the top of the screen.

7. Label the shapes and diagram by clicking the “Type” tool, which looks like a “T” on the “Tools” palette. Select a font, text size and text colour on the toolbar at the top of the screen. Click each shape or line on the diagram and add text, such as the periodic element abbreviation or a mathematical calculation. Repeat to add all required text.

8. Click the “Window” menu and select “Layers.” The “Layers” palette opens with all your different shape and text layers. Click the small lined icon at the top-right of the palette. Select “Flatten Image” and all the layers merge into one. Click the “File” menu, click “Save As” and save the diagram to the computer.

http://www.filepuma.com/download/adobe_photoshop_cc_17.0.0-13241/?f=cc